Posts

Showing posts from 2021

Doughnuts to go with the videos

Image
 

Some sailing videos


Tinting the windows and adding some bling

Image
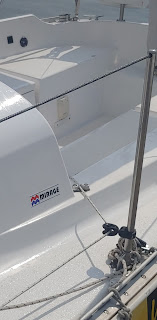
 I have been trying to decide whether or not to tint the windows on the Mirage for a while now. This week I decided to go for it.  It will add privacy for when we stay down and keep the cabin cooler.  Turns out it looks really cool too.  I also added a few label stickers to alleviate confusion when we are out sailing.

Spinnaker Days

Image
  July 2021 some Asymmetric Spinnaker action today in the light breeze. 

Genoa Sleeve by Sailrite

Image
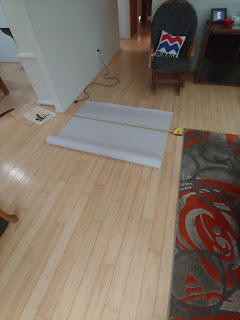
  Another great project from Sailrite.  This is one of the more complicated projects I've done.  There is a little cutting, long sewing runs, and a bunch of hardware.  Sailrite has moved to a paperless model so study up on the  You Tube video first. Sailrite service is super.  On this project we had a miscommunication about the color of the fabric and Sailrite's service stepped right up and fixed it.   Measuring is the first step. There are two ways the fabric can be laid out depending on the diameter of the rolled furler. After the measuring it is time to get out the hot knife and cut. Sew Sew some more. Bam UV protection for your fore sail without a bulky cover on the edge of your sails.   Video Montage 1 Installed video.

Memorial Day Outing

Image
It was cold but totally worth it and it was good to be out on the lake again for the first time this year.  

Dyneema Life lines

Image
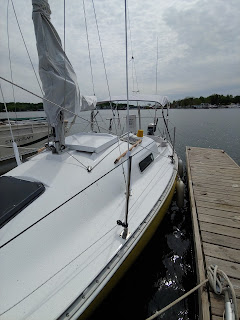
With the deck refinished it's time to turn my attention to the lifelines.  The lifelines currently on the boat are old plastic-coated, stainless lines, with swagged on fittings. There are a few spots that the plastic coating is wearing pretty thin so as part of the deck reface I decided it was time to replace them as well.  After looking around I decided to switch them out with Dyneema line.  I found a great source on ebay and picked up some 3/16th 12 strand-braided Dyneema with a 6100lbs breaking strength.  This is some great stuff to work with.  Eye splices are so much easier than in double braid lines. The hardest part of this project was finding a gate latch that worked well with my stern pulpit.  Overall I am very happy with the way these turned out and expect to get a lot of years out of them.   

Deck Refinish stage 2 Kiwi Grip

  Kiwi grip is some great stuff.  This is a latex-based paint that is back-rolled with a texturing roller. It is easy to clean up, easy to apply and leaves a great surface for your shoes to grip on. So far I am really happy with it.  The only drawback is bugs seem to like it. I suspect because it is latex paint it has a sweet smell that attracts the insects but I think it will dissipate after some time.  Kiwi grip photos via Tik Tok. 

Deck Paint Second Coat.

Image
  Ezpoxy second coat.  For the record I don't recommend Ezpoxy.  It is hard to work with and I'm under-welmed by the results.  Regardless the second coat is on and it looks like it could use a third in some spots.   

Stage one 1st coat of paint.

Image
Stage one EzPoxy painting completed.  Today I got lucky and the weather cleared up and I got the first coat of paint on the deck and cockpit. Stage one is all the flatwork.  Stage 2 will be the non-skid.   

Rainy Day Blues

Image
Started getting ready to paint this weekend and then the sky got dark and it sprinkled on and off the rest of the day.   

Deck Update Waiting to Paint.

Image
  As the sanding wraps up I start to look for a time to paint. It is Spring here in Michigan and it has started to rain. We have had three days of on and off sprinkles. While I know I could go down and sand and fill a few more spots here and there between the raindrops at some point, you have to stop and draw the line. I could go and go to perfection on this 45-year-old boat but why. We intend on sailing it and it will undoubtedly get a nick here, a scratch there, and a little line chafe there. Now we wait for the right weather, not too hot, not too wet, not too cold at night. These outside projects take patients. There are other projects to work on while we wait. Who knows with the prep done or nearly done maybe the boat will be launched before the deck is even finished. 

Five! Bottom Paint Videos

Image
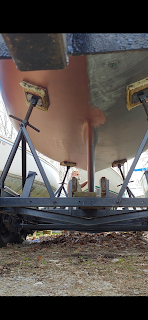
Video 1:  VC 17 paint mix:   Stir It Up, Baby.   Save those carry-out dinner cartons they are the best paint roller trays.  You can close them so your paint does not evaporate.  Video 2: Legends After trimming in the waterline and keel. It is time to cover some square footage with the roller. Video 3: Time Warp Some different views from around the boat.  Video 4: Moonlighting Finishing up the last section with the roller. Video 5: Almost Time for a Drink One more trim coat around the waterline and she is done. I always do a final trim coat around the waterline with some of the thicker paint from the bottom of a quart.

Which one.. Polish with what?

Image
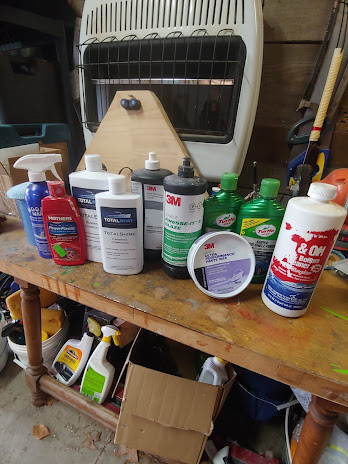
Over the past few years, I've started to gather quite a collection of cleaning supplies, polishing compounds, and waxes. Having a yellow boat has accelerated this collection. This being the third year with Woodstock I've had the opportunity to try three different polishing compounds head to head.  The first two years I used 3M Heavy oxidation remover followed up with their Finesse Polish. The first year I went over this with the 3M paste wax and the second I used Turtle Wax. I personally feel the Turtle Wax held up better and gave a nicer shine.  This spring I decided to give something else a try and ordered some Total Boat after watching Andy at Boatworks . If you have not seen his youtube channel you should check it out.  This is a two-part product as well Total Buff and Total Shine.  My father also came by this year and he has been using the Mcguires Products on his boats and camper. So we gave them a head-to-head comparison on the yellow hull. While the Mcguires was good it

Ugly Prep Day and Some Testing Gone Bad.

Image
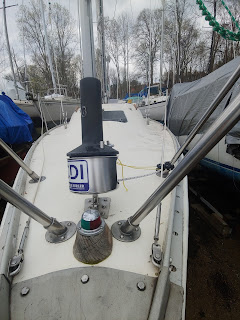
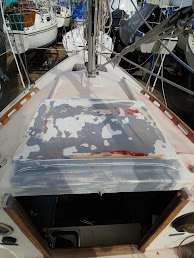
This year Tower Marine has me in yard storage and I'm less than 100 feet from the power! I decided I to have to take this opportunity to go to work on the deck with the power sanders and get some prep done.  Things always look worse before they get better right. I started by grinding on the hatch with my dremel tool. It had a lot of gel coat cracks and I found the dremel to be the perfect tool to open up the gel coat, so I could fill them with West System 410 fairing compound. After the first round I sanded and laid down a layer of high build laquer primer. Then I sanded and filled again. Then another layer of laquer primer. It is not perfect but it will be much better than what I started with.  The cockpit area remains one of the trickest to work in.  All the corners and working around the drains has taken some time. I removed all the hatches and sanded in all the little crevise that allow water to drain from the seating. It took quite a while to get all the traveler position numb